In my current quarantine comic project called The Crucial Corona Chronicles, at one point the main character is starving and eats an old oyster ceviche can whose expiration date was in 1982 as a last resort and starts hallucinating as a result.
This allowed me to have some fun doing some more experimental panels than the usual black and white ones I decided to use for this project. For one of those oyster induced hallucinations panels I decided to use this cool retro red and blue 3D effect:

I searched for online tutorials but none of them worked for me, they were either too Photoshop orientated and I didn’t found the equivalence in GIMP, or they didn’t explain exactly what you needed to do, or didn’t use a depth effect. The more useful was this one, but I needed to adapt it to GIMP:
1 – THE DISPLACEMENT MAP
So let’s go, here is the original image:
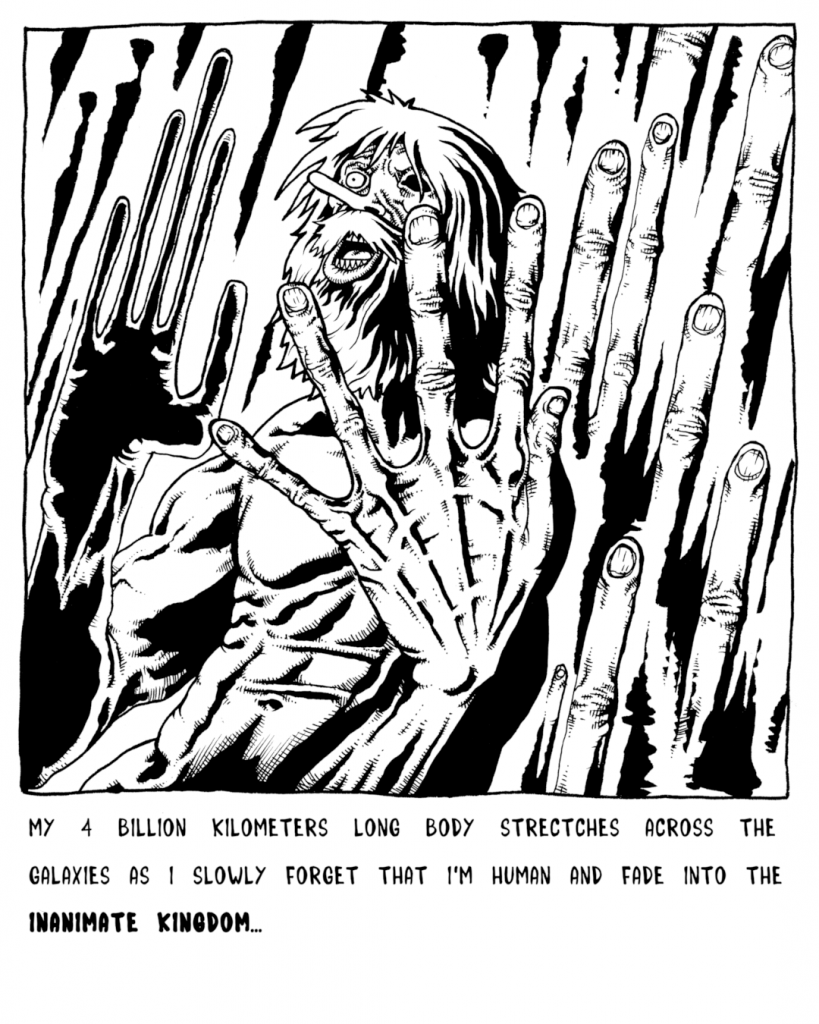
First, we are going to create a Displacement map, which will allow to create the depth in the final image:

This image is in black and white, where the more dark areas are going to appear nearer than the clear ones in the final image. I created a new layer on top of the one with the line art (called “Ink” here), called it Displace, and reduced it’s opacity to 90%, and traced the shapes by transparency using the Free Select Tool:

In the tutorial link I posted earlier, they say that the white parts are going to appear nearer than the dark ones, but for me it didn’t work, I don’t know if it’s because I’m using GIMP or because of another reason, but it’s only when I inverted the black and white values that the effect worked the way I intended to.
Here for example the hand in black will appear nearer than everything else.
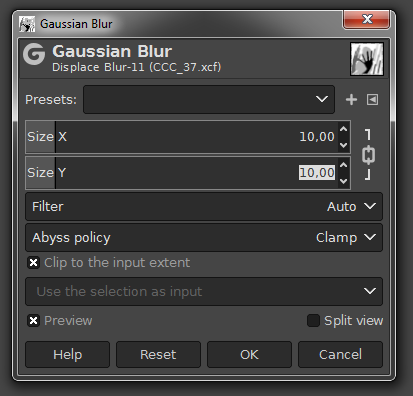
In order to have the effect blend in more naturally, I brought back the opacity of the Displace layer to 100%, and applied the Gaussian Blur (Filter menu >> Blur >> Gaussian Blur) filter using a 10 value:
Here’s the result:

2a – THE RED AND CYAN IMAGES:
Now, onto creating the red and blue versions of the line art. As my line art is purely black and white (if your image is in grey tones or even color, see below section 2b), I simply choose Select By Color (Select Menu >> Select By Color) and clicked on a black area of my line art (“Ink“) layer:

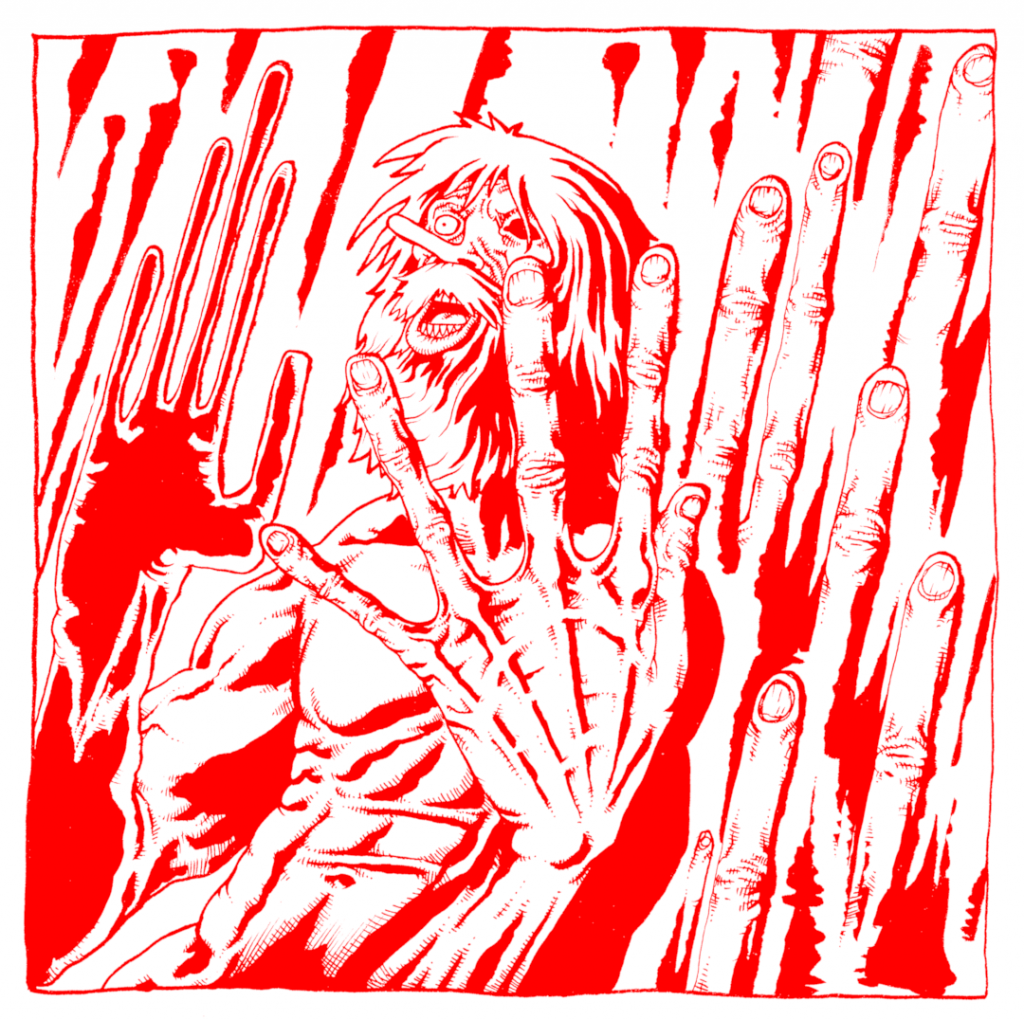
I then created a new layer filled with white, which I called Red, and filled the selected areas with pure red:
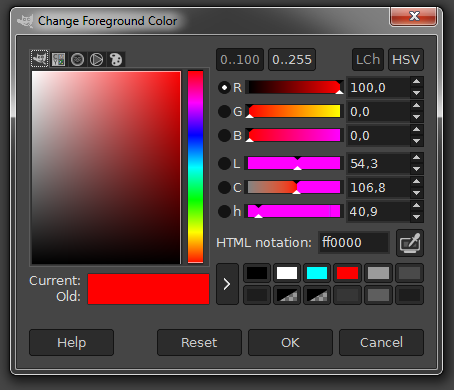
Here’s the result:
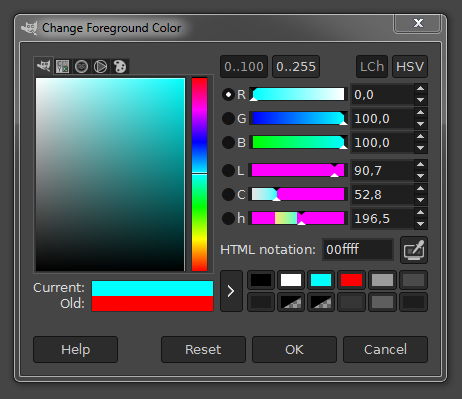
I did the same thing on a new layer called Cyan, but this time I selected the Blue and Green channels and put their value to 100 while putting the Red in 0:
I now have to layers, one Red and one Blue on top of each other:

2b – If you’re using an image with grey tones or even color, basically you want one layer where all the output values are Red, taking out all the Blue and Green, and another one where all the output values are Cyan (Green and Blue), taking out only the Red.
Here’s one way I found to do this, I am going to use my OINK fan art painting for this:
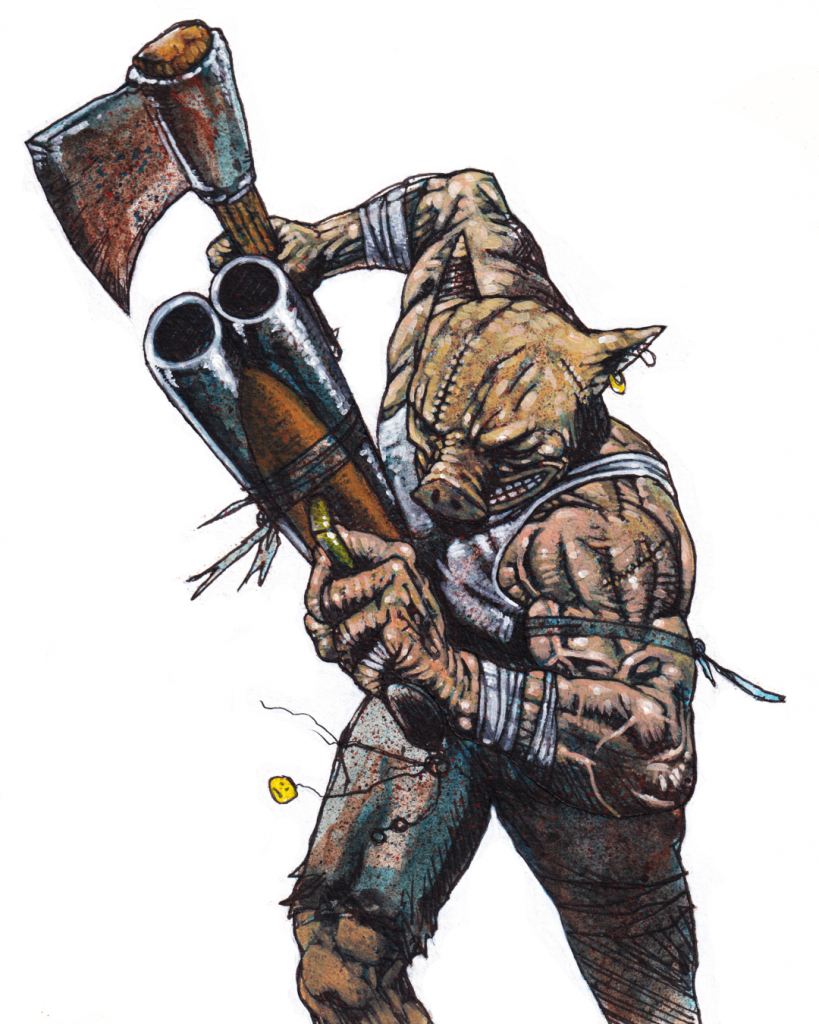
First, let’s convert this image to black and white values using the Saturation tool in the Colors Menu >> Saturation and bringing the Scale down to 0:

Let’s then duplicate this layer using the Duplicate layer option right clicking on the layer:

I then create a new layer and I fill it with Red and place it on top of the first black and white Oink layer, and another layer that I fill with Cyan (Blue and Green to 100 and Red to 0) and place it on top of the other black and white Oink layer:
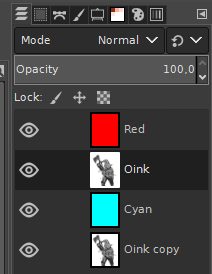
Then, we convert each one of the colored layers to Screen mode instead of Normal:

The result will look like this:
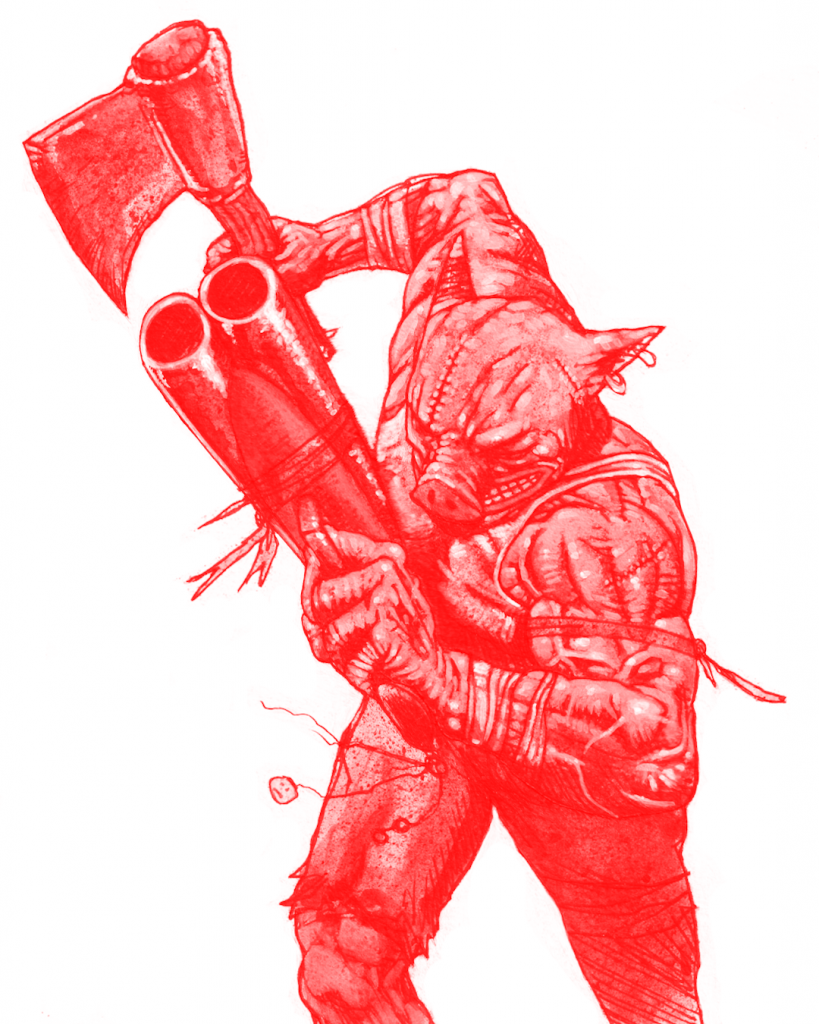
You then to the same thing with the Cyan layer, etc. You can now use the rest of the tutorial (you will need to to a Displacement Map before of course, see part 1):
3 – CREATING THE 3D DEPTH EFFECT:
We are going now to use the Displacement map created earlier, so I select first the Red layer and will use the Displace filter (Filters menu >> Map >> Displace), a window will show up:

First I’m going to click in the ? part just between Aux Input and (none) and select the Displacement Layer created earlier:

And then I’m going to click on the chain link in order to be able to manipulate the Horizontal Displacement value independently from the Vertical one. For this image I choose -15, but you can play with this value and find what works best for your image:

After clicking OK, we will now redo the exact same steps for the Cyan layer, but this time I’m choosing +15 for the value:

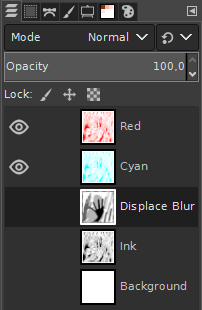
Now the layers should be like this:
4 – ET VOILA!
Finally, I select the Red layer which is on top of the Cyan one and change its Mode to Multiply instead of Normal:

And that’s it! the final image looks life this:

Well that’s it… Oh… I also did my own DIY 3 glasses:

The red is for the left eye, and the blue… Well I think you’ll be able to manage this on your own!
You can read The Crucial Corona Chronicles here:

Also, as of may of 2020 I’m also currently doing an Indiegogo campaign in order to try to self publish my first comic/illustration book, please consider checking this out (click on the image):

